I’ve always wanted to learn how to make video games, but I just had never gotten to it.
This August I decided to change that. I had a two-week vacation in a remote and quiet place and used my spare time to build my first game. The final result is a short and unpolished game, but I have the satisfaction of having finalised the project and made almost all assets from scratch.
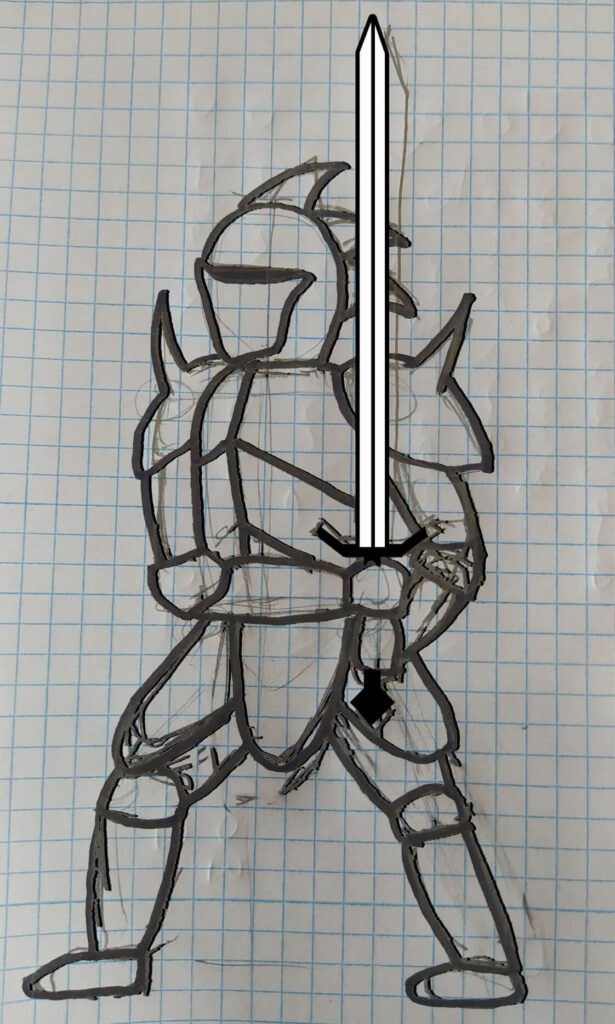
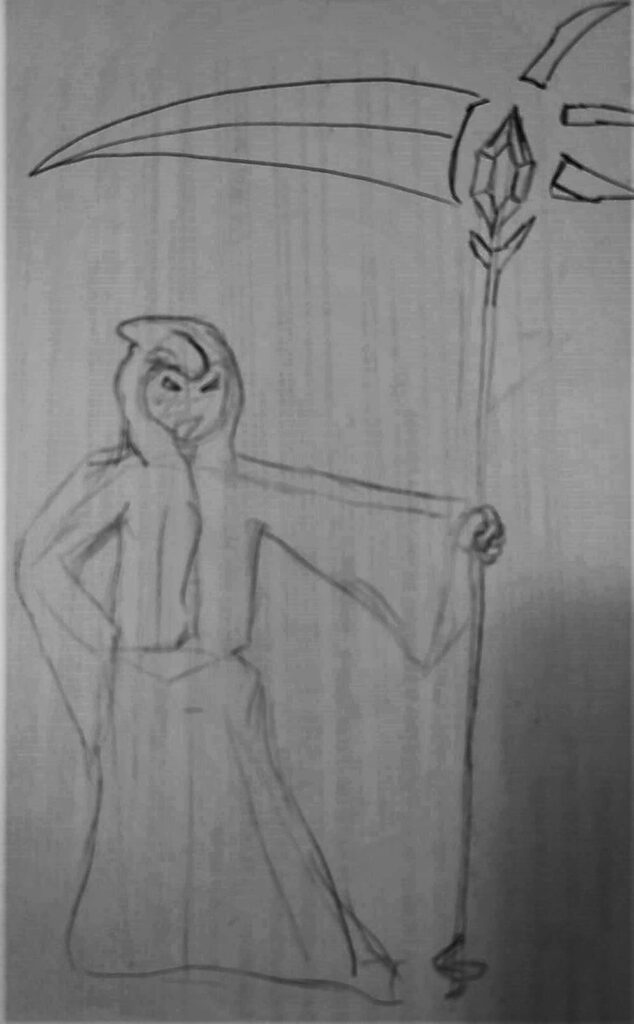
I had no previous experience in video game design, but have coded for some time and I used to draw a lot as a kid. In preparation for the project, I did a 2d platformer Unity tutorial on the afternoons during the week prior to my vacation. I also thought of a whole game concept of a roguelike where you’re an evil weapon (inspired on Nightblood from Stormlight Archive) that is trying to escape its confinement by tricking a human to wield it… but that ended up being waaaay too much and I had to cut the scope multiple times.
Once I had an idea i started planning out the main parts I needed for the project:
- Level outline and player control
- Enemies, attack and death animations
- Aesthetic level design
- Enemy sprites
- Player sprites
- Sound
- Menu and victory screen
Level outline and player control
For the level outline, I wanted something short since it was my first project. Also the cultist theme made me think of ancient rituals and a Stonehenge aesthetic, including stone monuments. I ended up building a level that consisted of three main parts:
- A couple of platforms to get the player started on the jump mechanics
- A plateau with space for a couple of enemies that could be engaged individually
- A final area where you had to fight many enemies at the same time
As for the movement, I just used the same control scheme that I’d learned from the platformer tutorial, and improved the jump a bit by learning from other tutorials. I also added gamepad compatibility by follwoing this tutorial. Anecdotally, I missed a small step in the middle of that tuto and ended up wasting more than an hour trying to figure out what was wrong…
This is the result after the first iteration:
Enemies, attack and death animations
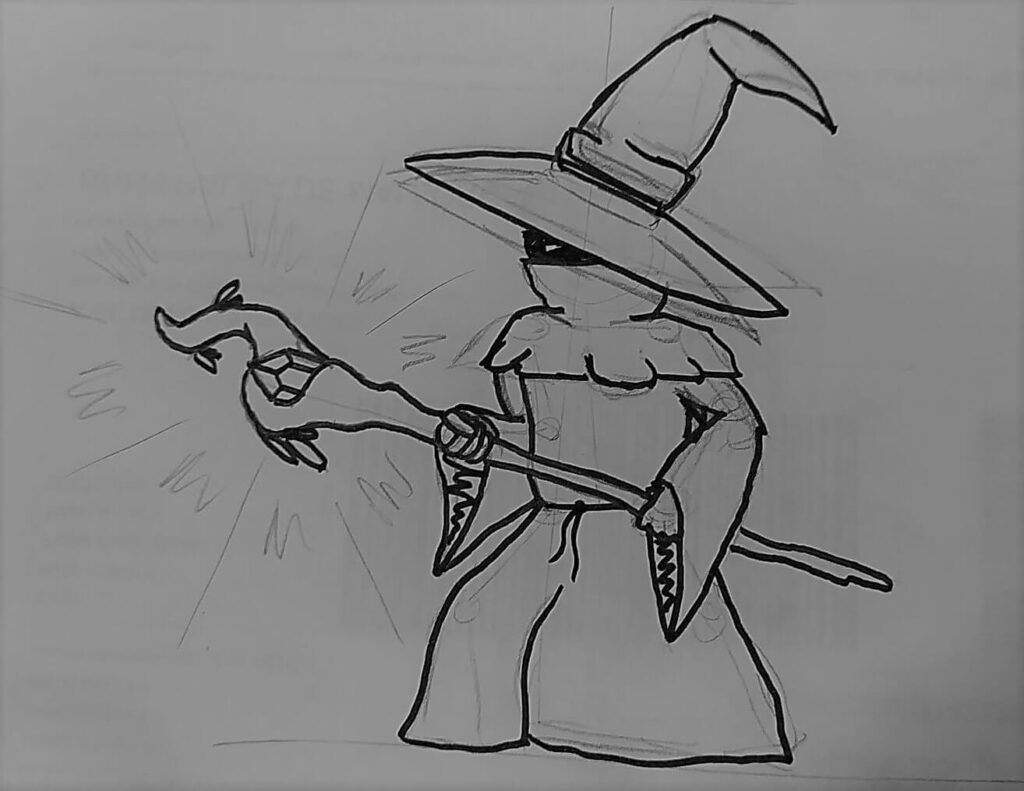
Since I wanted to do attack animations I needed some sprites that could do that, not just a bean. So, let me introduce you to …
I made it and animated it using Photoshop’s basic tools. And since I didn’t want to waste much time I used it for the player and tweaked its size and color for the enemies.
Once I had my beans in place, I started coding the player’s attack controls and the health system. For the player’s attack, I followed this Blackthornprod tutorial. For the health system, I used what I had learned from the 2d platformer tutorial.
After that, I started coding the enemy AI. I started with a very easy approach that ended up doing the job, with no need for extra complexity. This is the AI’s behavior:
- If you’ve recently been hit wait for a bit, else
- If the player is in range wait a bit and then attack, else
- If the player is in sight follow him, else
- If you’re in front of an obstacle turn around, else
- Walk in the direction you’re facing
I had also initially planned for “mage” type enemies that shoot fire balls at you, but realised that I didn’t have time to implement that (coding + drawing animations). So I just cut that out of the project.
Here is the result after the second iteration:
Aesthetic level design
Something that I wanted to focus on during this project was learning to design beautiful levels such as the ones in Hollow Knight. I searched a bit and found these two awesome tutorials from a small youtube channel.
After tinkering a bit with some elements, the final level setup was:
- Some fog (from the above tutorials)
- Black squares to cover “blank” regions
- 2 or 3 layers of grass paralax in the front (photoshop brushes)
- The player layer
- Rocks and walls (copied from google images)
- 3 layers of half-assed (time restrictions…) mountain paralax in the back
- A blue sky with stars and a moon that’s too high up to be seen at any moment
I know it lacks polish, but I wanted to finish the project during my vacation so I had to move on.
Here’s the third iteration:
Enemy sprites
I don’t really like pixel art and I don’t have a drawing tablet, so I decided to draw the characters, take pictures and use photoshop to digitalize them. The traditional way to do this is with the pen tool, but I quickly realized that this would take too much time so I ended up using the magic wand and some filters to make the lines more even. I think the result looks nice enough while being quite fast. If there’s interest I may write a guide detailing my method.
The first step of animating is having a clear character model and the second one id defining which animations. The animations that I needed for the enemy character were:
- Walk/run
- Attack
- Die
Die and attack animations were kind of easy, but running was harder. For the run animation I took inspiration from a shovel knight gif. I used an online tool to break it down into frames and basically copied the leg positions from the frames.
Finally, I added a particle system to simulate blood splashes when the player or an enemy is hit (here’s a couple of tutorials).
Player sprites
The fact that I used the same placeholder sprites for the player character and the enemies and that I was low on time, led me to do the same for the final sprites. I just added jumping and idle animations and called it a day.
Sound
The sounds I needed were:
- Jump
- Slash
- Character hurt
- Character dies
- Background music (I shamelessly copied the song of the prayer from FF X)
- Click
- Victory song
I just recorded all of those with my phone in less than half an hour (all mouth noises). Afterwards, I did some light editing with Audacity and followed a couple of tutorials to get them into the game.
Menu and victory screen
For the menu, I just followed this tutorial and added the player sprites. I also built victory and defeat screens using the same principles.
Conclusion
Here’s the final result:
And that’s it. I learned a lot from this project and had fun doing it. The result is nowhere near what profesional videogames look like, but it does look better than I anticipated.
This project helped me get a better understanding of what making a full game entails, even if at a small scope. It’s an exercise I’d recommend to all aspiring game developers before getting into bigger projects.
Next, I’ll try to make a project with more focus on playability and less focus on assets. Let’s see how it goes.